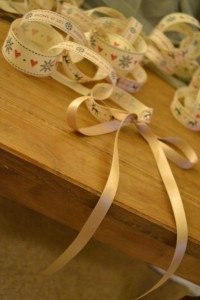
Wednesday, 23 January 2013

Lip Land..

This is just a little post about a competition I recently entered, that the very talented international make-up artist Karla Powell put on, any one living in the UK could enter, and the whole thing was meant to inspire and encourage creativity from her fellow & aspiring make-up artists. The inspiration was to be taken from her colour run lip series, a series she did using different colours and textures to create bold and striking images. Here's an image of the original colour run lip series by Karla, and what the competition was based on:


Being a budding make-up artist myself I thought I'd give it a go; and so I created two designs based on my interpretation of Karla's colour run lips. I posted the second design, which in hindsight I actually really don't like! But it was the first design I'd done which was noticed by Karla, the design which I originally thought wasn't good enough to be entered!

My entry was a nearly matte pink lip blending into light pink/almost white in the middle, to add a little twist I used MUA constellation beads, clear constellation beads, glitter dust and sequins to create a snowy effect....this little spark of inspiration was down to the heavy snow in the UK (which I'm sure most of you have experienced this past week) I thought it would work well with the colour run theme!! To create a link between the 'snow' and colour run I used sequins with a touch of pink in them and some purple/pink constellation beads, this was to be the main colour run aspect!

I actually ended up coming third! Which I'm still shocked about, there were so many amazing entries and I just looked at it as a bit of fun and another opportunity get creative as that's what I love to do! I had no pre-conceptions of winning, but it goes to show you should believe in your work!
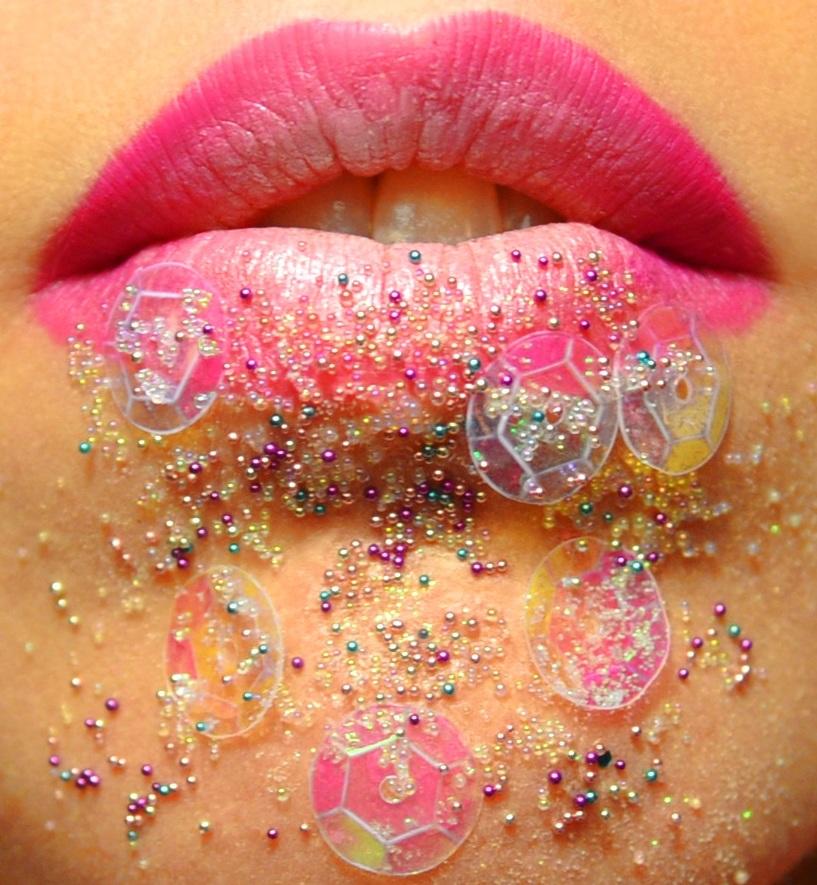
My entry.


I'd just like to add, that even if you don't think your work will be good enough, if you've put thought, time and effort in, believe in your work and do it anyway! I did, and it paid off, I've always been shy about entering competitions, but I've realized that you really don't have anything to loose, if it doesn't turn out how you hoped the chances are people will forget it, so there's no need to worry, you'll have learned something from the experience; and when it goes well, you'll be thankful for all the hard work you put in, it gives you such an amazing confidence boost, and the motivation to keep pushing forward :). I'm not saying that if you do something as an after thought, rush it and then think it's rubbish that it won't be, the chances are it probably is! The key is hard work, love and passion!

Anna :)

Here's a link to my facebook page and twitter account:
www.facebook.com/annabaxtermakeupartistry
https://twitter.com/AnnaRhiannon



Thursday, 10 January 2013

This is just a quick post that I thought the make-up junkies among you would appreciate! If like me you love your eyeliner (with or without 60's flicks) but can't seem to find one which doesn't budge and looks stunning. Then you should definitely try NARS Eyeliner Stylo, I love it!


It has a super fine felt tip, is really easy to apply and it's so stubborn it won't budge for anything less than your best eye makeup remover...so any forgetful eye rubbings wont matter! It comes in four different shades 'Carpates- Black'; 'Nuku Hiva - Brown'; 'Atlantic - Blue' and 'Koala - Grey'. It's £19.00 and well worth the money! I went for the black and I've posted a quick picture so you can see how well it goes on!


(Please excuse the lack of mascara! Tut tut)


Monday, 7 January 2013

Clinique's Three Step Marvel...

For as long as I can remember my face has been an oil slick, which has resulted in a constant flow of spots and absolutely enormous pores, which in turn makes my skin look rougher and older than it actually is. I try almost anything I can get my hands on, but nothing reduced the oil and tightened my pores to any great effect, UNTIL I was doing a spot of make-up shopping in Debenhams and decided I was in the market for new skin care products and popped over to the Clinique counter...that's where I saw the 'Anti-blemish solutions' range which form a three step makeup regime. Perfect!
Needless to say I went away a happy bunny with a Clinique shaped dint in my purse.


The first of the three steps is the 'cleansing foam' - £14.50, this is lathered onto wet skin (AFTER all traces of makeup are removed), where it cleanses and removes dirt, excess oil and softens the dead skin cells on the surface of your skin.
The second step is the 'clarifying lotion' - £17.00, you need to shake this vigorously as it's full of tiny exfoliating particles, you only need a small amount on a cotton ball. The clarifying lotion removes all the dead skin cells which were softened during step one, and any excess oil or dirt left behind.
Removing the dirt and oil from the pores means that they can reduce in size, only slightly but it's noticeable!
The third step is a 'clearing moisturiser' - £18.50, (oil free, obvs) which acts as a barrier to bacteria and restores essential moisture (not oil!) to the skin.

**They also have a smaller set which includes: 50ml Cleansing Foam; 100ml Clarifying lotion & 30ml Clearing Moisturiser for £30**

I've only been using these for just over a week and I can all ready see a difference in my skin! I have fewer spots all ready, my skin is super soft and looks radiant, which is the result of removing all the dead skin cells and my pores are ever so slightly less noticeable. It's suggested that you use them twice a day, but I've seen results with only one use a day. Imagine what my skin will look like after a month!

Clinique Pore Refining Solutions Correcting Serum will be my next purchase!

Thursday, 20 December 2012

The Paper Chains Chic Twin

I thought for my first ever blog post I'd roll with the seasons and get festive (Even if it is completely unrelated t make-up/beauty!)...seeing as it's less than a week to Christmas day, I've finished college for the year, bought and wrapped all my gifts and have nothing left to do but get into the festive spirit with a spot of decoration making to brighten up my little corner of the North Wales country side.
My decoration of choice is the humble paper chain, or in my case a 'ribbon chain'. They're simple to make yet very effective when it comes to transforming your home from everyday to grotto in less than an hour!
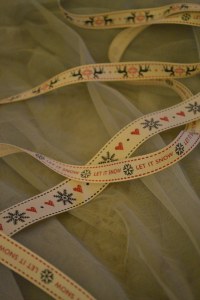
All you need is some ribbon (this can be anything which takes your fancy) I spotted some eye-catching Christmas designs at my local haberdashery, which are perfect for this! You'll also need a ruler; glue stick; scissors and satin ribbon (optional) as a finishing touch.
 
 
**Note** 6m of ribbon will make approx. 2.4m of chain. You will need about 60cm of silk ribbon for finishing.
 
1. Cut the ribbon into 20cm strips. Cut as many or as few as you'd like depending on how long you'd like your chain to be.
2. Next simply decide what order you'd like your links to be in (this is only applicable if you have two of more patterns).
3. Apply glue one end of a strip of ribbon, then over lap both ends, I've found about a 1cm overlap does the trick.
4. Finally add a silk ribbon to each end of the chain...this will help when hanging it up, and gives it a finished look.
5. Hang your new decoration!
 
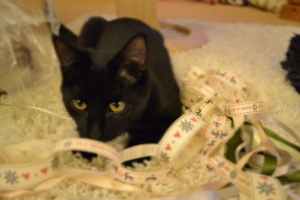
Ribbon...CiCi's new favourite thing..
                            Ribbon...CiCi's new favourite thing..
 
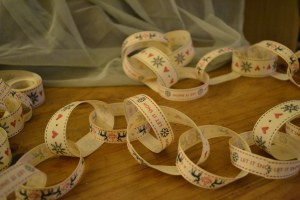
Ribbon chain almost complete...
DSC_0455
 
These ribbon chains are a great adaption of the paper chain, not only are they pretty, chic and easy to make they'll last year after year!
 
The finished product!